Adding a new VM to existing LibreNMS home lab monitoring setup.
This post documents the steps to add a new VM - for monitoring purposes - to an existing LibreNMS setup. NOTE: This is not the full LibreNMS install.
See LibreNMS initial setup for the full setup.
A complete walkthrough for deploying the SNMP client to a new VM and adding it to LibreNMS for monitoring. Starting point assumes setup-snmp.sh exists at ~/Scripts/ on lpt-HP only.
Prerequisites
setup-snmp.shpresent at~/Scripts/on lpt-HP (192.168.1.100)- SSH access from lpt-HP to the target VM
~/Scripts/directory already exists on the target VM- LibreNMS running on librenms-vm (192.168.1.176)
- Target VM has a known static IP address
Step 1 — Copy the Script to the Target VM
From lpt-HP, copy the script to the target VM. Replace <IP> with the target VM’s IP address.
1
scp ~/Scripts/setup-snmp.sh mark@<IP>:~/Scripts/
No output means success. The filename echoed back confirms the copy completed.
Step 2 — SSH into the Target VM
1
ssh mark@<IP>
Step 3 — Make the Script Executable and Run It
1
chmod +x ~/Scripts/setup-snmp.sh && ~/Scripts/setup-snmp.sh
The script installs snmpd, writes the configuration file, restarts and enables the service on boot, and opens UFW port 161 if UFW is active. The final line may show snmpwalk: command not found — this is expected and harmless. The SNMP service is running correctly regardless.
Step 4 — Exit Back to lpt-HP
1
exit
Step 5 — Verify SNMP Reachability from LibreNMS
SSH into librenms-vm:
1
ssh mark@192.168.1.176
Run a test poll against the new VM:
1
docker exec -it librenms snmpwalk -v2c -c public <IP> system
A successful response returns a block of SNMPv2-MIB::sys* entries. If you get a timeout instead, verify snmpd is running on the target VM and that UFW is not blocking UDP port 161 before continuing.
Exit librenms-vm:
1
exit
Step 6 — Add the Device in LibreNMS
Open the LibreNMS web UI at 192.168.1.176:8000 and navigate to Devices → Add Device.
Enter the following values:
- Hostname/IP:
<IP> - SNMP version:
v2c - Community:
public
Click Add Device. LibreNMS confirms with a message like:
1
2
Adding host <IP> community public port using udp
Device added [<IP>]
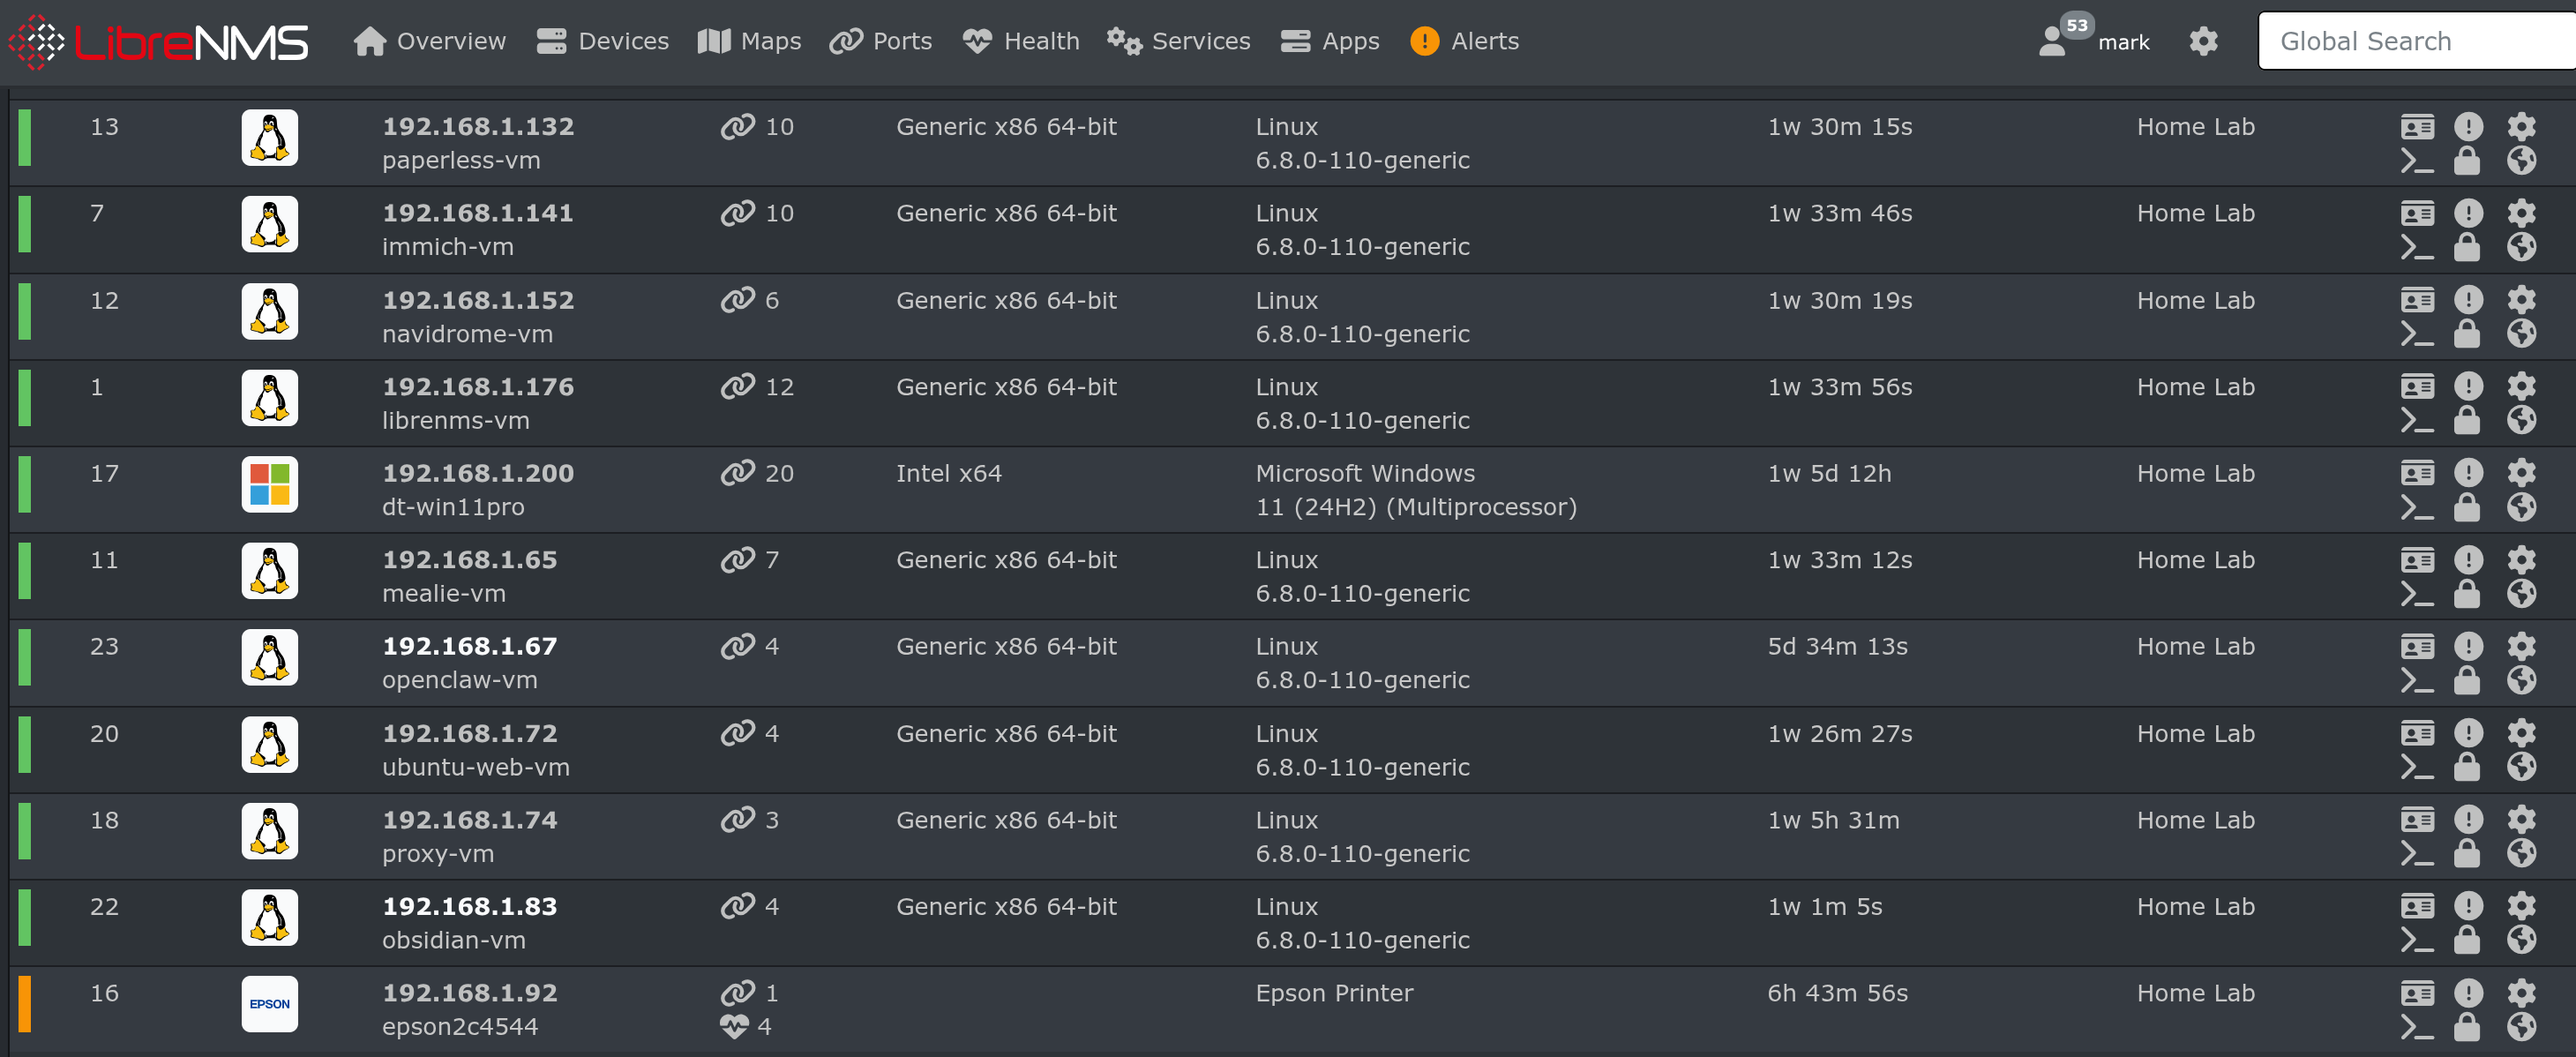
LibreNMS begins polling immediately. Memory, system info, and interface data should populate within seconds, confirming SNMP is fully operational.