Installation of OpenClaw app in Ubuntu VM.
This post documents the steps I went through to install OpenClaw in a new, empty, Ubuntu 24.04 VM on one of my Proxmox hypervisors.
Installing OpenClaw on a Proxmox VM
OpenClaw is an open-source AI agent that connects a large language model like Claude to messaging platforms, your filesystem, shell commands, and external APIs. Unlike a chatbot, it acts — running tasks autonomously while you go do something else. This guide documents installing OpenClaw 2026.4.21 on a dedicated Ubuntu 24.04 VM in Proxmox, connected to Anthropic’s Claude API via Telegram.
Prerequisites — Read This First
Before touching the VM, have all the following ready. Skipping any of these will stop the installation cold.
Required before starting:
- A dedicated Ubuntu 24.04 VM (not your daily driver — OpenClaw needs broad system access)
- An Anthropic API key from console.anthropic.com — treat it like a password, never paste it into a chat or document
- Telegram installed on your phone with an account created
- A Telegram bot token from @BotFather (instructions in Step 7 below)
- Tailscale installed and active on the VM
Why Telegram? OpenClaw has no standalone browser chat interface during setup. It requires a messaging platform to function. Telegram is the simplest option — free, cross-platform, and well-supported by OpenClaw.
Why a dedicated VM? OpenClaw’s own documentation warns that if you are not comfortable with security hardening and access control, you should not run it. An isolated VM limits the blast radius if something goes wrong.
A Note About Tokens and Keys
You will end up with three separate credentials during this installation. They serve completely different purposes:
| Credential | Purpose | Where it comes from |
|---|---|---|
| Anthropic API key | Pays for Claude usage (per token) | console.anthropic.com |
| Telegram bot token | Connects OpenClaw to your Telegram bot | @BotFather in Telegram |
| OpenClaw gateway token | Authenticates you to the web UI | Generated during onboarding |
Keep all three somewhere safe. Never paste any of them into a chat window.
VM Specifications
These specs provide a comfortable baseline for a personal single-user deployment:
| Resource | Value |
|---|---|
| OS | Ubuntu 24.04 LTS |
| vCPUs | 2 |
| RAM | 4 GB |
| Disk | 40 GB |
Step 1 — Provision and Update the VM
Spin up the VM from your Ubuntu 24.04 template in Proxmox. Fix the hostname and assign a static IP before anything else, then install Tailscale.
Once SSH’d in, update the system:
1
sudo apt update && sudo apt upgrade -y
Step 2 — Switch to Bash
This is mandatory. All OpenClaw commands must be run in bash. If you use Fish shell, OpenClaw’s pnpm environment variables will not be set correctly and commands will fail with confusing errors.
If your terminal opens in Fish, switch to bash before doing anything else:
1
bash
Stay in bash for the entire installation and for all future OpenClaw operations.
Step 3 — Install Node.js 22
Ubuntu’s default repositories ship an outdated version of Node.js. OpenClaw requires Node 22 or higher. Install from NodeSource:
1
curl -fsSL https://deb.nodesource.com/setup_22.x | sudo -E bash -
1
sudo apt install nodejs -y
Verify:
1
node --version
Expected output: v22.x.x
Step 4 — Install pnpm
OpenClaw 2026.4.x has a known bug where installing via npm silently omits channel plugin dependencies, causing cascading crashes during onboarding. Use pnpm instead — do not use npm install -g openclaw regardless of what other guides say.
Install pnpm:
1
sudo npm install -g pnpm
Configure pnpm’s home directory:
1
pnpm setup
Load the new configuration:
1
source ~/.bashrc
Step 5 — Install OpenClaw
1
pnpm add -g openclaw@latest
When prompted to approve build scripts:
1
pnpm approve-builds -g
Press a to select all, then y to confirm. This allows native dependencies to compile for your system.
Verify:
1
openclaw --version
Step 6 — Install Missing Channel Plugin Dependencies
Even with pnpm, OpenClaw 2026.4.x does not stage all channel plugin dependencies correctly. This is a known open bug. Install them all at once before running onboarding — otherwise they crash the wizard one at a time:
1
pnpm add -g @larksuiteoapi/node-sdk grammy @grammyjs/runner @grammyjs/transformer-throttler @whiskeysockets/baileys @slack/web-api @slack/bolt @buape/carbon discord-api-types @discordjs/voice nostr-tools
Step 7 — Create a Telegram Bot
- Install Telegram on your phone and create an account
- Search for @BotFather and open a chat
- Send
/newbot - Follow the prompts — give your bot a name and a username
- Copy the token BotFather provides — it looks like
123456789:ABCdef...
Have this token ready before starting onboarding.
Step 8 — Run Onboarding
1
openclaw onboard --install-daemon
Work through the wizard in this order:
- Security disclaimer → Yes
- Setup mode → QuickStart
- Model/auth provider → Anthropic (Claude CLI + API key)
- Anthropic auth method → Anthropic API key
- Enter API key → type your key directly in the terminal
- Default model →
anthropic/claude-sonnet-4-6(do not select Opus — it costs significantly more) - Web search → Skip for now
- Select channel → Telegram (Bot API)
- Bot token → Enter Telegram bot token → paste your BotFather token
- Configure skills → No
- Hooks → Skip for now
The wizard installs a systemd user service and enables lingering, so the gateway keeps running after you log out.
At the end of onboarding you will see a Control UI URL with a token embedded:
1
http://127.0.0.1:18789/#token=YOUR_TOKEN_HERE
Save this token. You will need it to access the web UI.
Step 9 — Start the Gateway
1
openclaw gateway start
Verify it is running:
1
openclaw gateway status
Look for Runtime: running and Connectivity probe: ok.
Step 10 — Pair Your Telegram Account
Open Telegram on your phone and send any message to your bot. It will respond with a pairing code.
Back on the VM in bash, approve yourself:
1
openclaw pairing approve telegram CODE
Replace CODE with the code shown in Telegram. Your bot will confirm and start responding normally.
Step 11 — Lock Down DM Access
By default, any Telegram user who finds your bot can send it a pairing request. Lock it to your Telegram ID only.
Your Telegram user ID was shown in the pairing screen when you first messaged the bot. You can also ask the bot directly: “what is my Telegram user ID?”
1
openclaw config set channels.telegram.dmPolicy "allowlist"
1
openclaw config set channels.telegram.allowFrom '["YOUR_TELEGRAM_USER_ID"]'
Restart the gateway to apply:
1
openclaw gateway restart
Step 12 — Run the Security Audit
1
openclaw security audit --deep
1
openclaw security audit --fix
What to expect on a clean personal install:
The audit will report 0 critical issues. Here is what matters and what you can ignore:
| Warning | Action |
|---|---|
gateway.control_ui.insecure_auth | Fix this — disable it (see below) |
config.insecure_or_dangerous_flags | Same fix as above |
gateway.trusted_proxies_missing | Ignore — only relevant if using a reverse proxy |
gateway.nodes.deny_commands_ineffective | Ignore — refers to iOS/Android node commands |
security.trust_model.multi_user_heuristic | Ignore — expected on a personal single-user setup |
Disable the insecure auth flag:
1
openclaw config set gateway.controlUi.allowInsecureAuth false
Restart to apply:
1
openclaw gateway restart
Step 13 — Set Up Tailscale Serve for Web UI Access
The gateway binds to loopback only (127.0.0.1) by design — it will not respond to direct IP connections on your network. Tailscale Serve is the cleanest way to access the web UI from any device on your tailnet over HTTPS without an SSH tunnel.
First, grant your user operator permission, so you do not need sudo for Tailscale commands:
1
sudo tailscale set --operator=$USER
Then enable Tailscale Serve pointed at the gateway:
1
tailscale serve --bg http://127.0.0.1:18789
This outputs your persistent Tailscale HTTPS URL — it will look like:
1
https://openclaw-vm.tailXXXXX.ts.net/
Save that URL. Now tell OpenClaw to trust it as an allowed origin:
1
openclaw config set gateway.controlUi.allowedOrigins '["https://openclaw-vm.tailXXXXX.ts.net"]' --strict-json
Restart the gateway:
1
openclaw gateway restart
Step 14 — Access the Web UI
Open your Tailscale URL in a browser:
1
https://openclaw-vm.tailXXXXX.ts.net/
Get your tokenized dashboard URL from the VM:
1
openclaw dashboard
Take the token from that output and open:
1
https://openclaw-vm.tailXXXXX.ts.net/#token=YOUR_TOKEN_HERE
The first time you connect from a new browser, OpenClaw will require device pairing approval. You will see a request ID on screen. Approve it from the VM:
1
openclaw devices approve REQUEST_ID_HERE
Once approved, that browser is remembered and will not need re-approval unless revoked.
The web UI gives you a full dashboard for chatting with the agent, managing sessions, reviewing logs, configuring channels, and managing cron jobs — all from your browser.
Monitoring API Costs
OpenClaw uses your Anthropic API key on a pay-per-use basis. Every message the agent processes costs tokens. Monitor your spending at console.anthropic.com → Usage. Check this daily during your first week.
Important — heartbeat cost: OpenClaw runs a heartbeat check every 30 minutes by default. Each heartbeat is a full agent turn that consumes API tokens even when you are not actively using the bot. To disable heartbeats:
1
openclaw config set agents.defaults.heartbeat.every "0m"
Estimated monthly costs with claude-sonnet-4-6:
| Usage level | Typical tasks | Estimated cost |
|---|---|---|
| Light | Daily briefings, occasional questions | $5–$15/month |
| Medium | File management, coding assistance | $20–$50/month |
| Heavy | Multi-step automation, frequent loops | $50–$150+/month |
Workspace Files — Personalizing the Agent
OpenClaw automatically creates a set of markdown files in ~/.openclaw/workspace/ on first run. These files are injected into every agent session and define who the agent is and what it knows about you.
| File | Purpose |
|---|---|
SOUL.md | Agent personality, tone, and behavioral boundaries |
AGENTS.md | Procedural rules — what the agent does and how |
USER.md | Context about you — timezone, background, preferences |
TOOLS.md | Notes about available tools and your specific setup |
HEARTBEAT.md | Tasks the agent checks on every 30-minute heartbeat |
MEMORY.md | Long-term memory — created and maintained by the agent |
Edit these files with any text editor. Changes take effect on the next agent session. Start with USER.md — it has the most immediate impact since it tells the agent who you are before your first message.
The workspace is auto-initialized as a git repo if git is installed. Keep it that way — it gives you a rollback path if workspace changes break behavior.
Known Issues — OpenClaw 2026.4.x
Missing channel plugin dependencies: A build pipeline bug causes both npm and pnpm global installs to omit channel plugin runtime dependencies. The manual pnpm add -g command in Step 6 is the workaround. This is a known open issue being actively worked on.
Do not use npm install -g openclaw: Despite appearing in many guides and the npm page, this install method is broken for 2026.4.x. Use pnpm only.
Fish shell incompatibility: OpenClaw’s pnpm environment does not load correctly in Fish shell. Always run OpenClaw commands in bash.
allowInsecureAuth enabled by default: This flag is set to true during onboarding. Disable it immediately after setup as shown in Step 12.
API key security: If your Anthropic API key is ever exposed, revoke it immediately at console.anthropic.com and generate a new one before continuing.
Next Steps
Once the agent is running and secured:
- Review the auto-generated files in
~/.openclaw/workspace/ - Edit
USER.mdto give the agent context about your homelab and routines - Edit
SOUL.mdto give the agent a name and personality - Start simple — ask it to check disk usage, summarize a log file, or do a web search
- Browse ClawHub for skills — install only what you actually need, one at a time
- Verify behavior carefully before granting access to sensitive files or other machines on your network
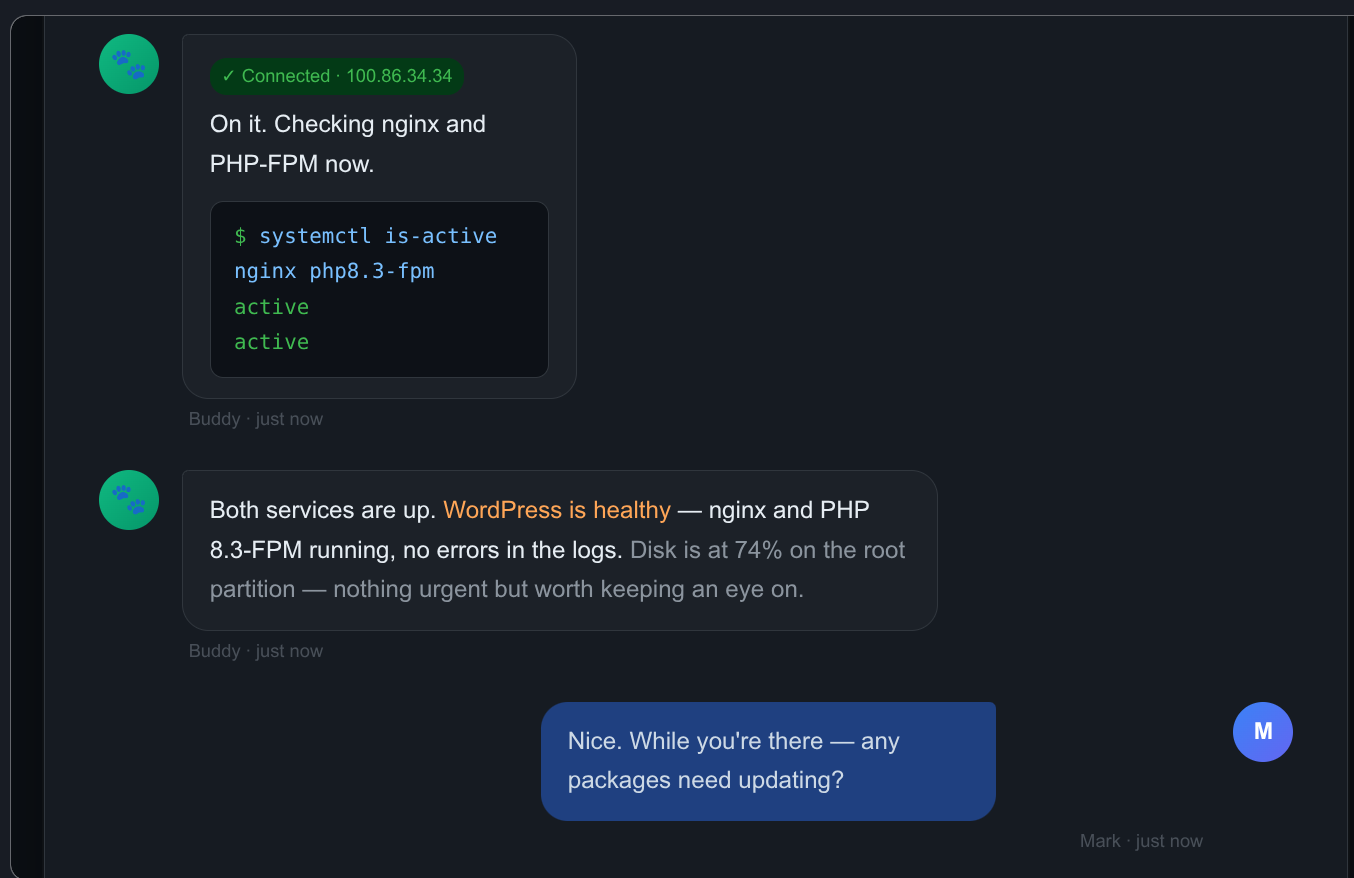
Giving Buddy Access to Other VMs
Buddy can SSH into other VMs on your network to run commands, check services, update packages, and manage files. Each VM requires the same two-step setup.
Step 1 — Copy the SSH public key from openclaw-vm to the target VM:
1
ssh-copy-id mark@TARGET_VM_IP
Run this from openclaw-vm. Use the Tailscale IP of the target VM for consistency.
Step 2 — Tell Buddy the Tailscale IP of the VM.
Send him a message like: “You now have SSH access to [vm-name] at [tailscale-ip]. Please connect and map the setup, then update TOOLS.md with what you find.”
He will handle the rest and document it himself.
Passwordless Sudo on Target VMs
For Buddy to run system-level commands (package updates, service restarts, etc.) without being prompted for a password, you need to grant passwordless sudo to your user on each VM where you want that capability.
On the target VM, run:
1
sudo visudo
Add this line at the end, replacing mark with your username:
1
mark ALL=(ALL) NOPASSWD: ALL
Security note: This grants broad sudo access without a password. Only do this on VMs that Buddy has SSH access to, and only after you are comfortable with how Buddy behaves. Start with one VM, verify behavior, then expand.
TOOLS.md — Keeping Buddy’s VM Knowledge Current
Every time you give Buddy access to a new VM, ask him to update ~/.openclaw/workspace/TOOLS.md with what he finds. This file is injected into every session, so it is how Buddy remembers which machines he can reach and what is running on them.
After connecting a new VM, send Buddy:
Please update TOOLS.md with everything you just learned about [vm-name] — its Tailscale IP, what’s installed, how the key services are configured, and any quirks worth remembering.
End of Session Discipline
Buddy has no persistent memory between sessions beyond what is written to his workspace files. To avoid losing context, end each working session by sending him:
Please update your memory files with anything important from this session — what we did, what changed, and anything you learned about my setup.
This keeps MEMORY.md, TOOLS.md, and USER.md current and ensures the next session picks up where this one left off.