Navidrome install with external media drive.
Navidrome Music Server — Docker Setup with Optional External NFS Music Library
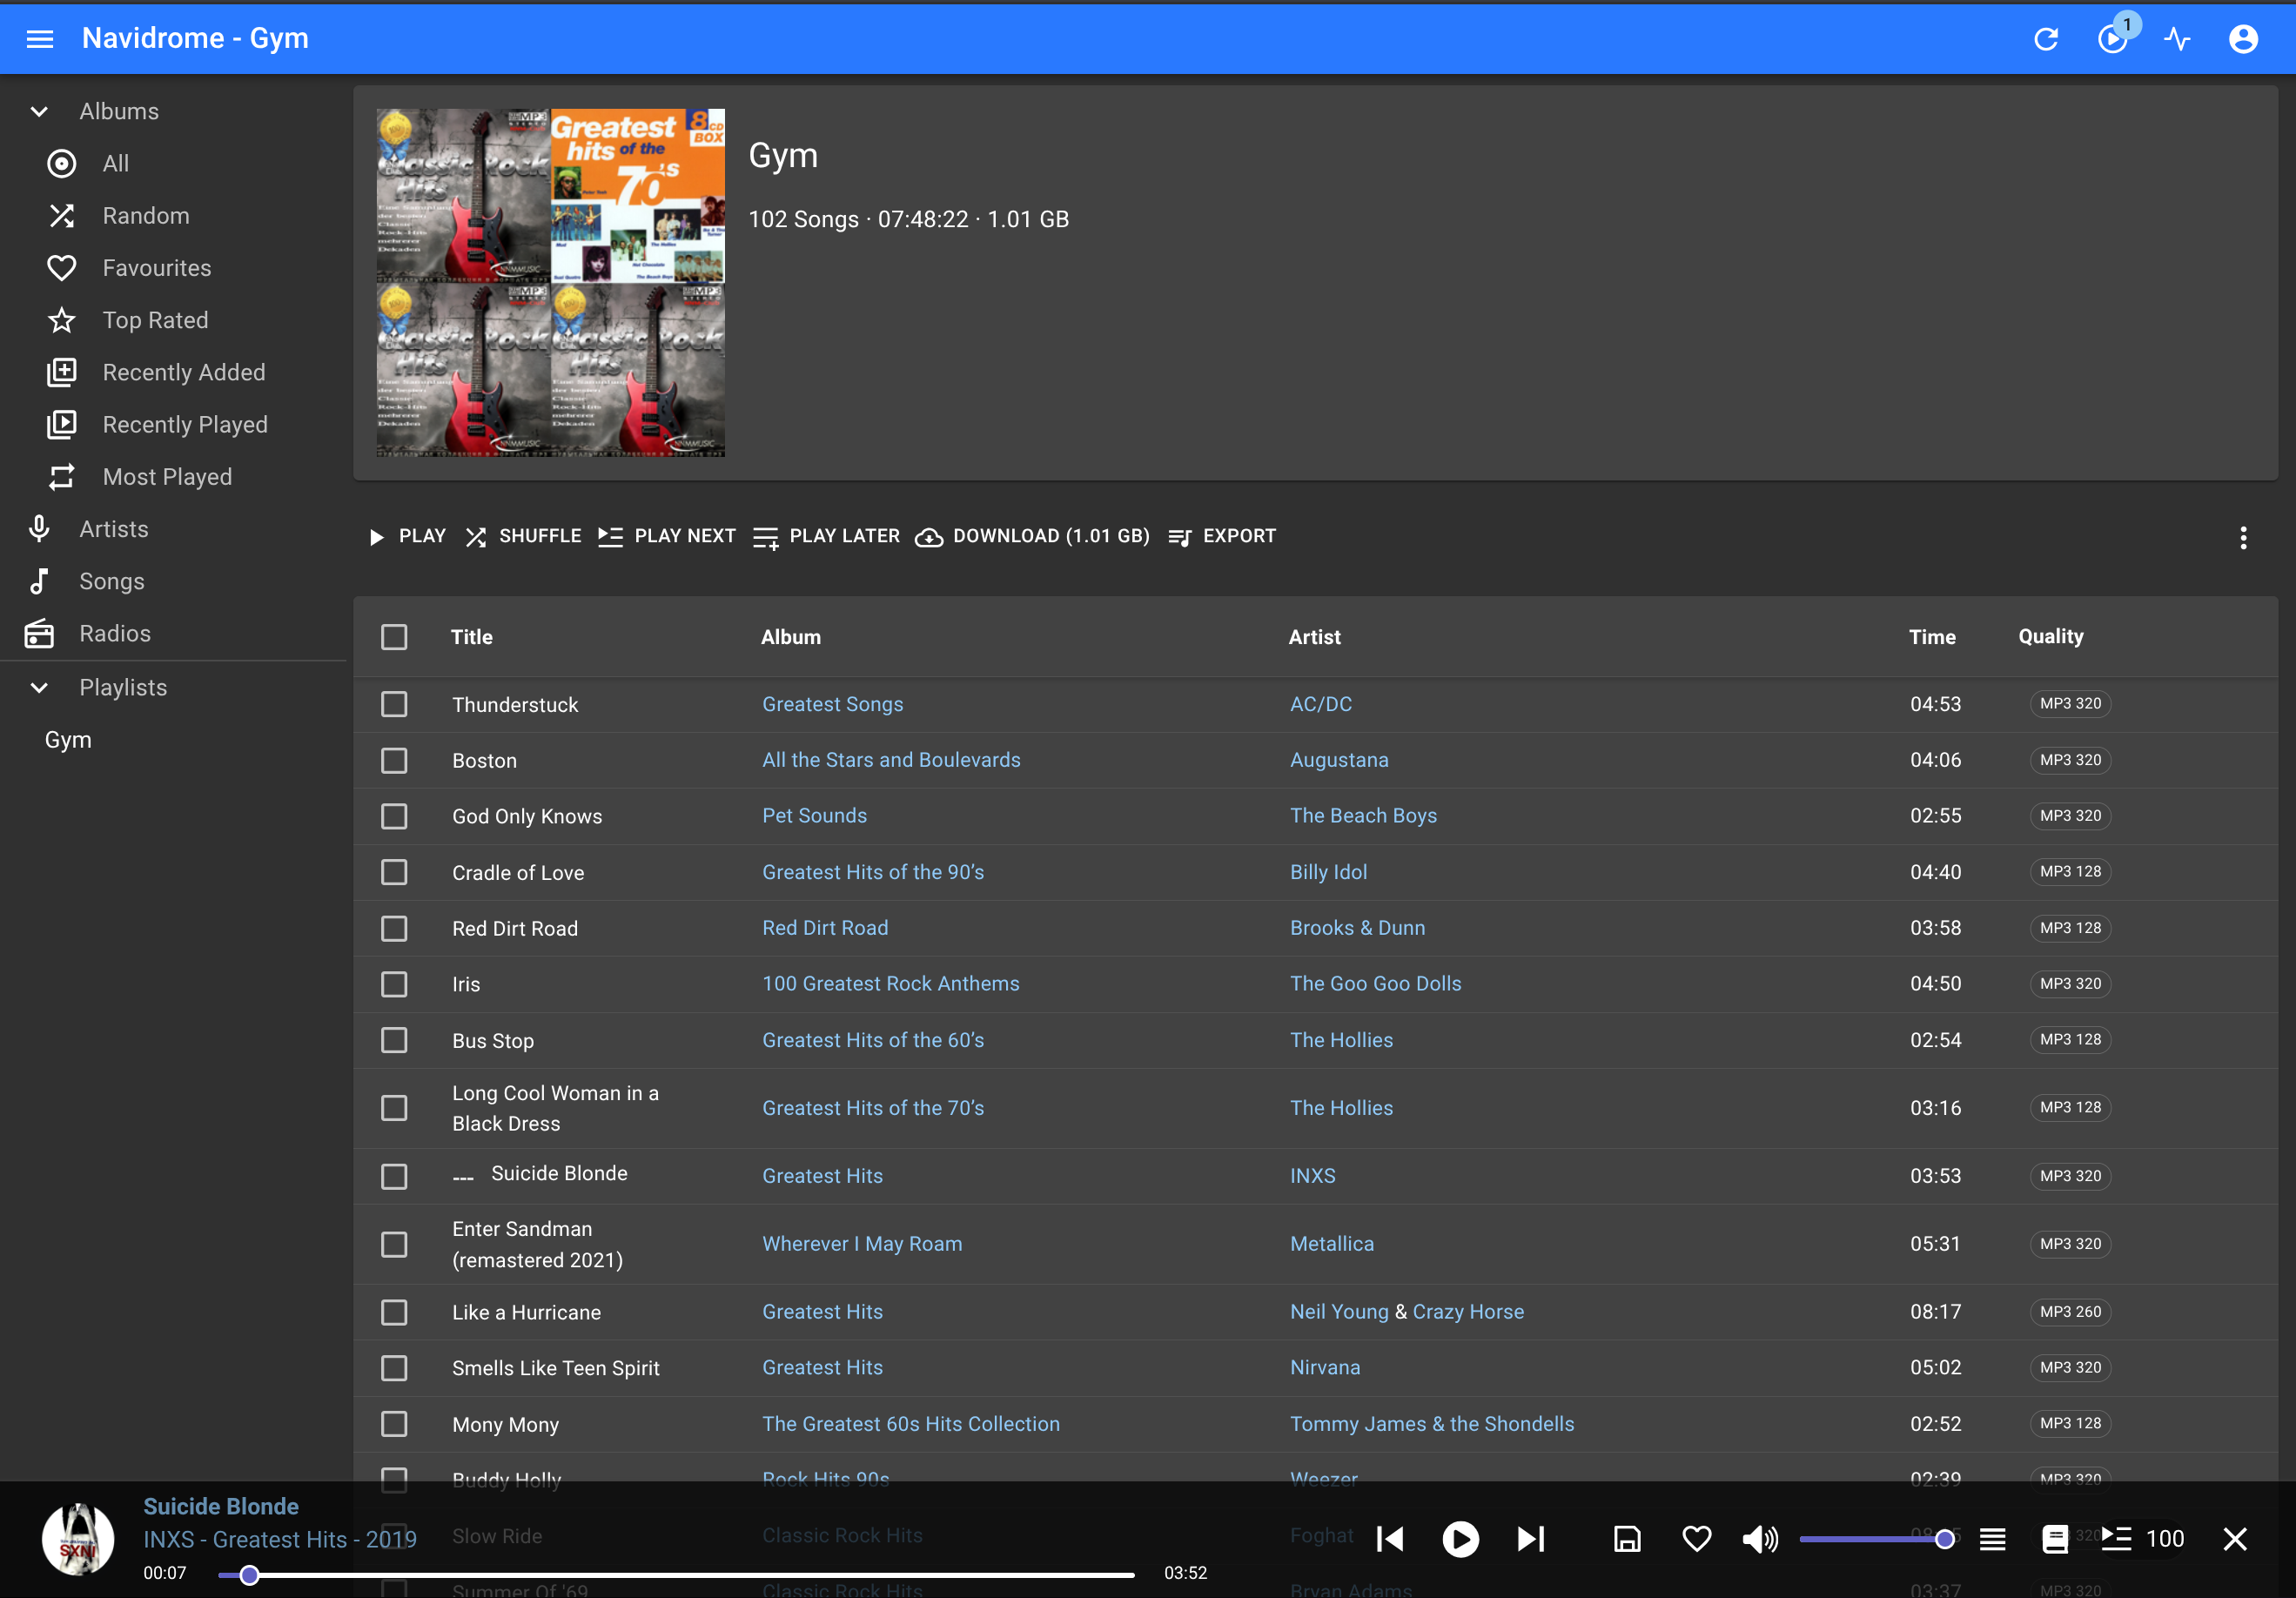
Hero image suggestion: A screenshot of the Navidrome web UI showing an album grid, placed here to give the reader a visual target for what a working install looks like.
This guide covers the complete setup of Navidrome as a self-hosted music streaming server running inside Docker on an Ubuntu 24.04 VM hosted on Proxmox. It assumes Docker and Docker Compose are already installed and tested, and that your user account has been added to the docker group.
The guide is split into two parts:
- Part 1 — Install and verify Navidrome using a local test music file
- Part 2 — Connect Navidrome to an external music library stored on a USB SSD attached to the Proxmox host via NFS
Part 2 is completely optional. If your music is stored locally on the VM, you can stop after Part 1 and update the music volume path in your docker-compose.yml to point wherever your files live.
Part 1 — Install and Verify Navidrome
Create the Directory Structure
This creates two subdirectories under ~/navidrome: one for Navidrome's internal config and database, and one for music files.
Download a Test MP3
A small test file to confirm Navidrome can scan and stream before connecting real music.
Create the Docker Compose File
Paste in the following:
services:
  navidrome:
    image: deluan/navidrome:latest
    container_name: navidrome
    user: 1000:1000
    ports:
      - "4533:4533"
    restart: unless-stopped
    volumes:
      - "${HOME}/navidrome/config:/data"
      - "${HOME}/navidrome/music:/music:ro"
Save and exit with Ctrl+O, Enter, Ctrl+X.
The user: 1000:1000 line sets the UID and GID the container runs as. Confirm yours with id -u and id -g before proceeding — both should return 1000 on a standard Ubuntu install. If they differ, update that line accordingly.
Music is mounted read-only (ro) — Navidrome never needs write access to your library.
Start the Container
Docker will pull the image on first run. Subsequent starts are near-instant.
Verify in the Browser
Open http://<your-vm-ip>:4533 in a browser. You should see the Navidrome login screen. Log in with admin / admin — you will be prompted to set a new password immediately. Your test MP3 should appear under Songs within a few seconds as Navidrome completes its first scan.
Part 2 — Connect an External Music Library via NFS
This section connects Navidrome to a music collection stored on a USB SSD attached directly to the Proxmox host. The VM accesses the drive over NFS. If this does not apply to your setup, stop here and update the music volume path in your docker-compose.yml to point to wherever your music lives on the VM.
The steps below are split by which machine you are working on. Read each section header carefully before running any commands.
On the Proxmox Host — Prepare the USB SSD
Skip this section if your SSD is already formatted, mounted, and has a music folder.
Identify the new drive
Look for a device around 2TB with no mount point — it will appear as /dev/sdX. Replace sdX with the actual device letter in every command that follows.
Partition the drive
Creates a single GPT partition spanning the full drive.
Format the partition
Formats the partition as ext4.
Create the mount point
Mount the drive
Make the mount persistent across reboots
Copy the UUID value for /dev/sdX1, then open fstab:
Add this line at the bottom, replacing UUID=xxxxx with the value you copied:
Test it:
No output means success.
Create the music folder and set permissions
On the Proxmox Host — Export the Music Folder via NFS
Install NFS server if not already present
If it reports nfs-kernel-server is already the newest version, continue.
Add the NFS export
Add this line at the bottom:
Adjust the subnet if your network range is different. ro means the clients can read but not write.
Apply the export
Verify the export is active
You should see your path listed with the subnet and options. If nothing appears, the export did not register — re-check /etc/exports for typos.
On the Ubuntu VM — Mount the NFS Share
All remaining commands run on the VM where Navidrome is installed, not on the Proxmox host.
Install NFS client
Create the mount point
Confirm the Proxmox host is offering the export
Expected output:
If this hangs or errors, the NFS server on the Proxmox host is not reachable. Go back and verify exportfs -v output on the host before continuing.
Mount the NFS share
Verify the music is visible
Your music folders should appear. If the directory is empty, the NFS share mounted but the path on the Proxmox host is wrong — re-check the export path.
Make the mount persistent across reboots
This step is mandatory. Without it, the mount will disappear after every reboot and Navidrome will show all songs as missing.
Add this line at the bottom:
192.168.1.125:/mnt/Ext_New_SSD/music /mnt/navidrome/music nfs ro,nofail,x-systemd.automount,_netdev 0 0
The _netdev flag tells the system to wait for the network before attempting this mount. The nofail flag prevents a failed mount from blocking boot.
Test it:
No output means success.
On the Ubuntu VM — Update Navidrome to Use the NFS Path
Update docker-compose.yml
Update the volumes section to point to the NFS mount:
Restart Navidrome
Open the Navidrome web UI at http://<your-vm-ip>:4533. Your full music library should begin appearing within seconds as Navidrome scans the NFS-mounted folder.
Recovery — NFS Mount Lost After Reboot
If Navidrome shows all songs as missing after a VM reboot and the fstab entry is not yet in place, run these three commands on the VM in order:
Confirm your music folders are visible, then restart Navidrome:
Then add the fstab entry above so this does not happen again.