Adding a new VM to existing LibreNMS home lab monitoring setup.
See Setting up LibreNMS and SNMP clients for the full setup.
A complete walkthrough for deploying the SNMP client to a new VM and adding it to LibreNMS for monitoring. Starting point assumes setup-snmp.sh exists at ~/Scripts/ on lpt-HP only.
Prerequisites
setup-snmp.shpresent at~/Scripts/on lpt-HP (192.168.1.100)- SSH access from lpt-HP to the target VM
~/Scripts/directory already exists on the target VM- LibreNMS running on librenms-vm (192.168.1.176)
- Target VM has a known static IP address
Step 1 — Copy the Script to the Target VM
From lpt-HP, copy the script to the target VM. Replace <IP> with the target VM's IP address.
No output means success. The filename echoed back confirms the copy completed.
Step 2 — SSH into the Target VM
Step 3 — Make the Script Executable and Run It
The script installs snmpd, writes the configuration file, restarts and enables the service on boot, and opens UFW port 161 if UFW is active. The final line may show snmpwalk: command not found — this is expected and harmless. The SNMP service is running correctly regardless.
Step 4 — Exit Back to lpt-HP
Step 5 — Verify SNMP Reachability from LibreNMS
SSH into librenms-vm:
Run a test poll against the new VM:
A successful response returns a block of SNMPv2-MIB::sys* entries. If you get a timeout instead, verify snmpd is running on the target VM and that UFW is not blocking UDP port 161 before continuing.
Exit librenms-vm:
Step 6 — Add the Device in LibreNMS
Open the LibreNMS web UI at 192.168.1.176:8000 and navigate to Devices → Add Device.
Enter the following values:
- Hostname/IP:
<IP> - SNMP version:
v2c - Community:
public
Click Add Device. LibreNMS confirms with a message like:
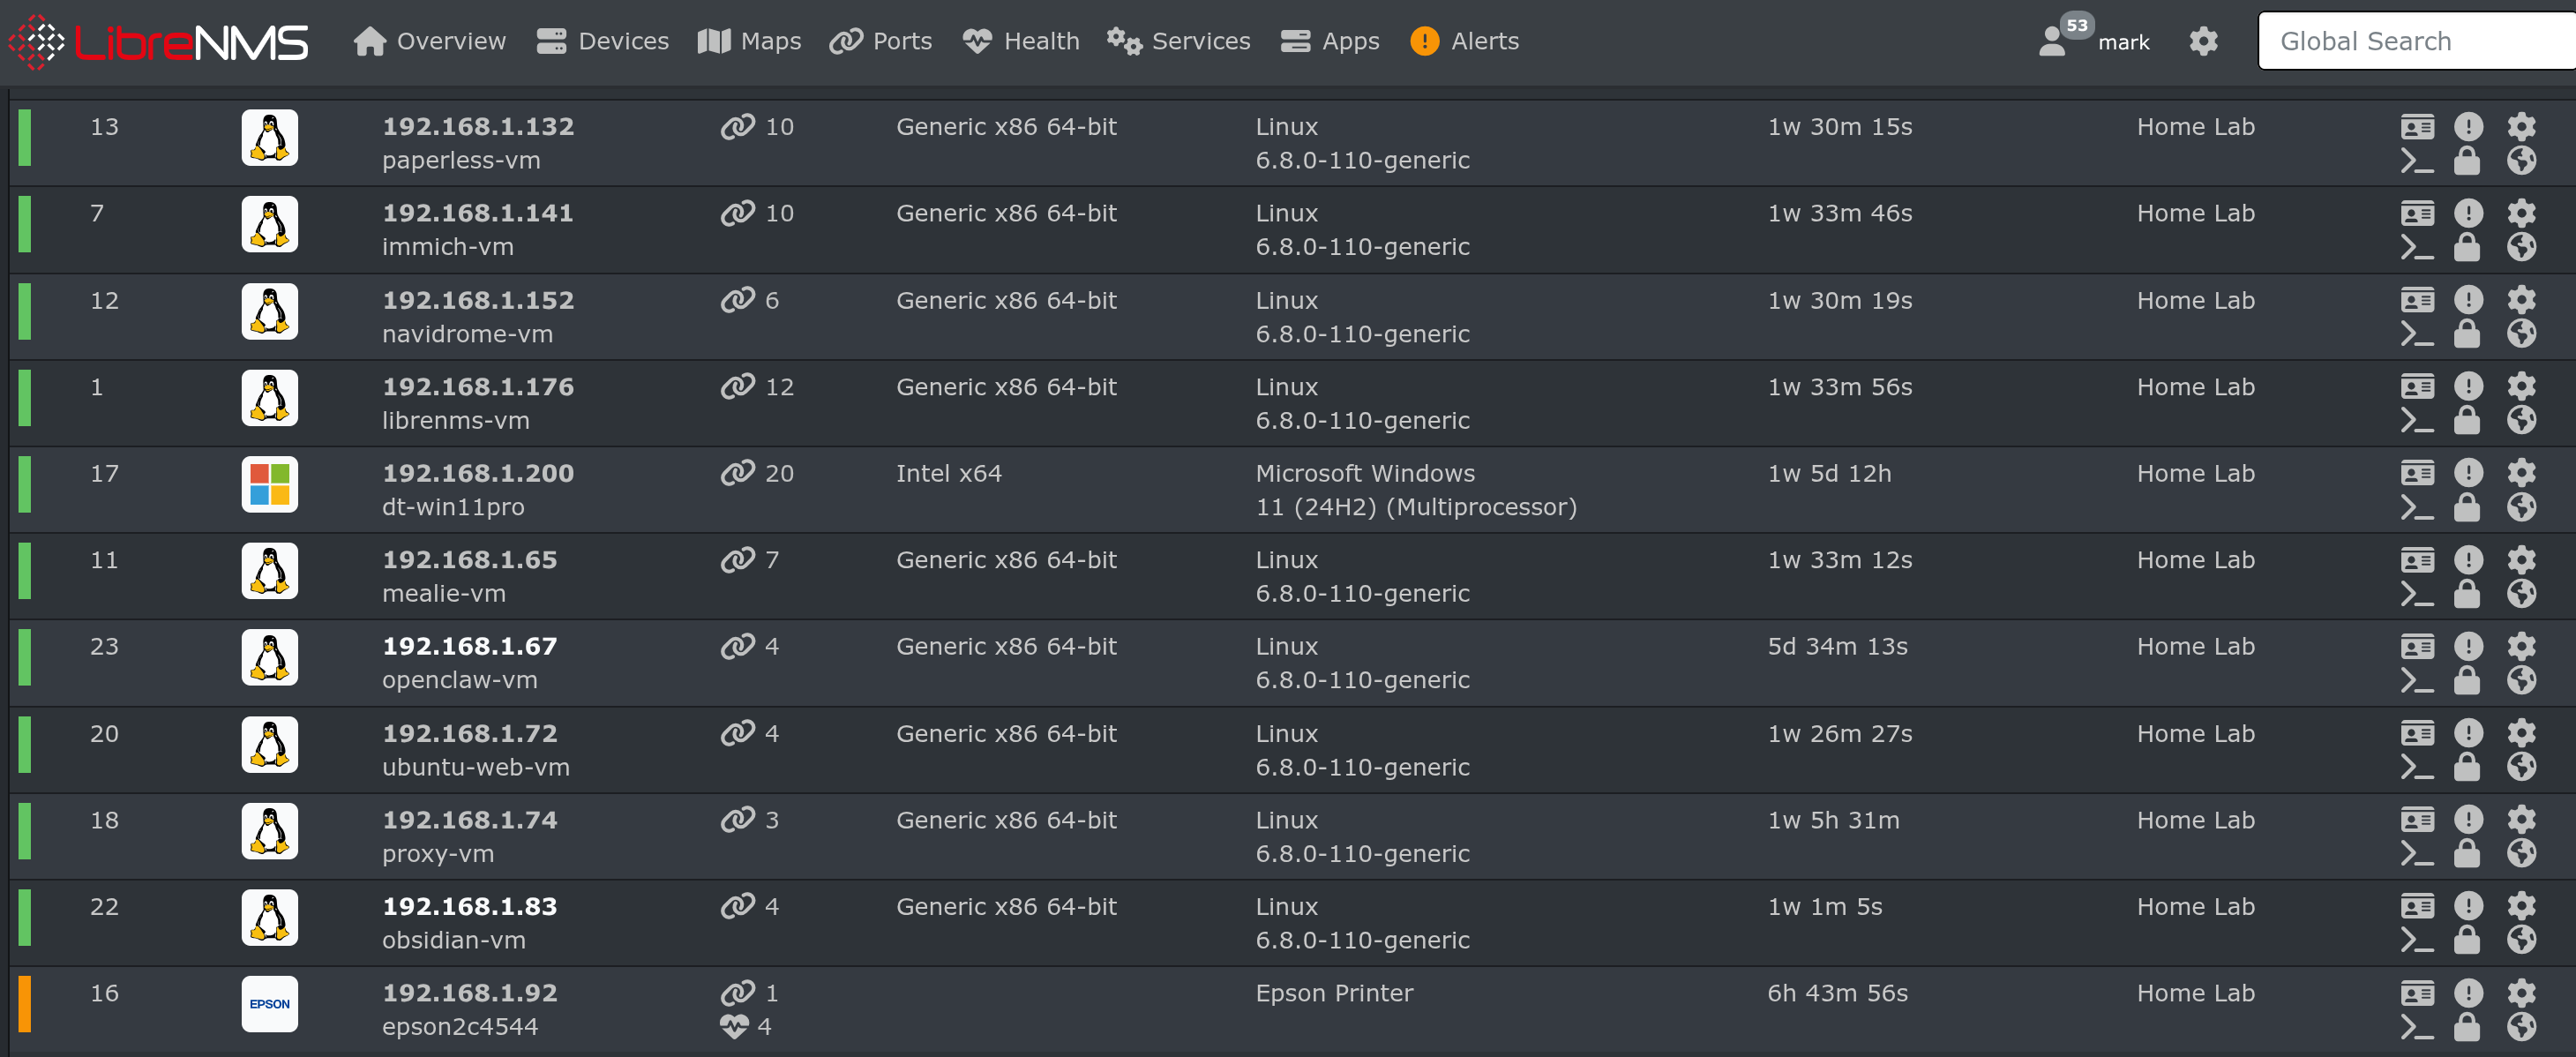
LibreNMS begins polling immediately. Memory, system info, and interface data should populate within seconds, confirming SNMP is fully operational.